一直想搭建一个 NuGet 包管理服务器,毕竟 nuget.org 是公开的,一些公司或个人的包不适合上传。
之前尝试过 NuGet.Server,但是因为其缺少前端的管理工具,所以后面渐渐放弃了。
没想到的是过去几个月的时间,再搜 NuGet,发现了 Nexus 这个宝藏,果断造起来。
使用 docker 运行 nexus3
安装 docker 的部分略过,直接进行安装。
拉取 Nexus 镜像
最新发布的 Nexus 的镜像到本地:
1 | docker pull sonatype/nexus3:latest |
运行 Nexus
创建文件夹存放 Nexus 持久化数据:
1 | mkdir -p /data/nexus |
使用 Docker 命令运行 Nexus:
1 | docker run -d -p 8081:8081 --name nexus -v /data/nexus:/nexus-data sonatype/nexus3:latest |
访问 Nexus
尝试在浏览器中访问 Nexus:http://{ip}:8081。
如果无法访问,可以通过以下命令查看容器运行状态:
1 | docker ps -a |
如果容器的状态为 Exited,那么可以通过以下命令查看日志:
1 | docker container logs nexus |
查看日志内容,如果开头几行为:
1 | mkdir: cannot create directory '../sonatype-work/nexus3/log': Permission denied |
可以发现是我们没有为 Nexus 分配文件夹权限,可以执行以下命令授权:
1 | chown -R 200 /data/nexus |
然后重新启动我们的 nexus 容器即可:
1 | docker start nexus |
配置反向代理
建议使用 caddy,具体配置可以参考安装 gitea 的那篇博文:代码仓管理系统 Gitea 搭建

Nexus 中 NuGet 的简单使用
登录 Nexus
登录默认用户名为:admin。
默认密码可以在文件 /data/nexus/admin.password 查看,登录成功后会提示修改默认密码。
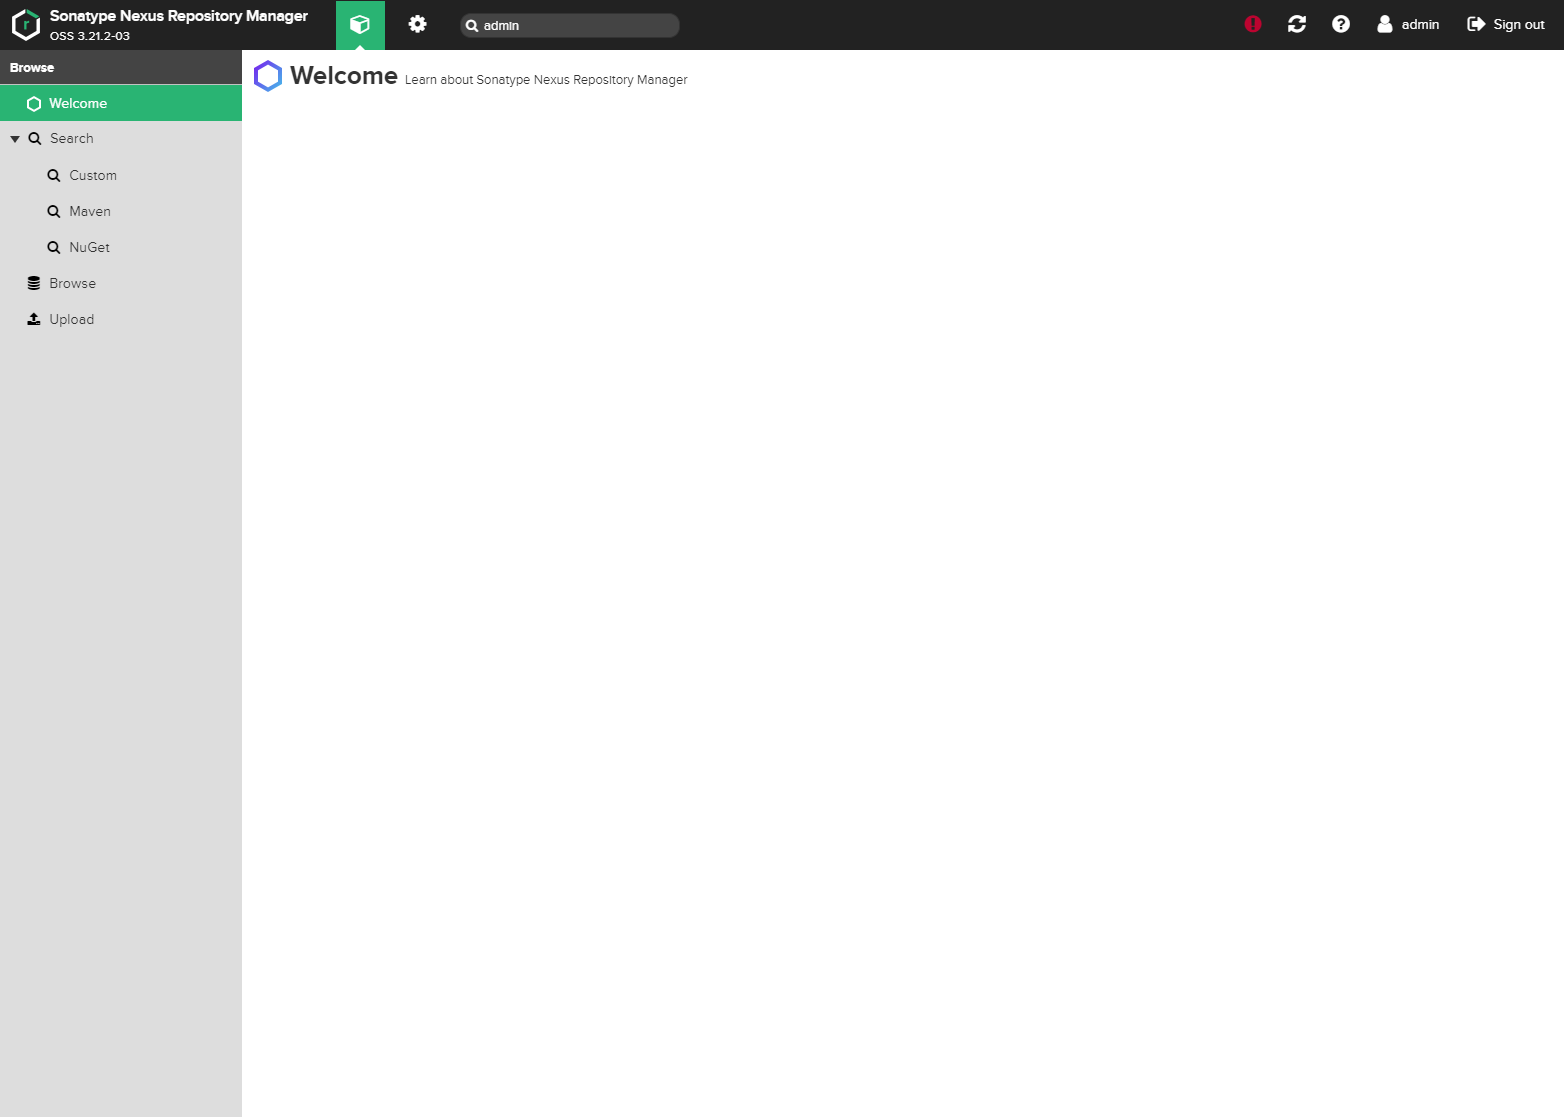
如上图所示,在登录以后,欢迎页面旁会出现一个 小齿轮 的图标。
创建 HelloNexus 项目
创建一个 .NET Standard 类库项目 用于测试 Nexus 托管 NuGet 包。
内容很简单,增加一个 Nexus.cs 文件,定义一个 Hello 方法:
1 | namespace HelloNexus |
项目文件 HelloNexus.csproj 做如下修改:
1 | <Project Sdk="Microsoft.NET.Sdk"> |
可以在项目“属性” -> “打包”界面进行配置。
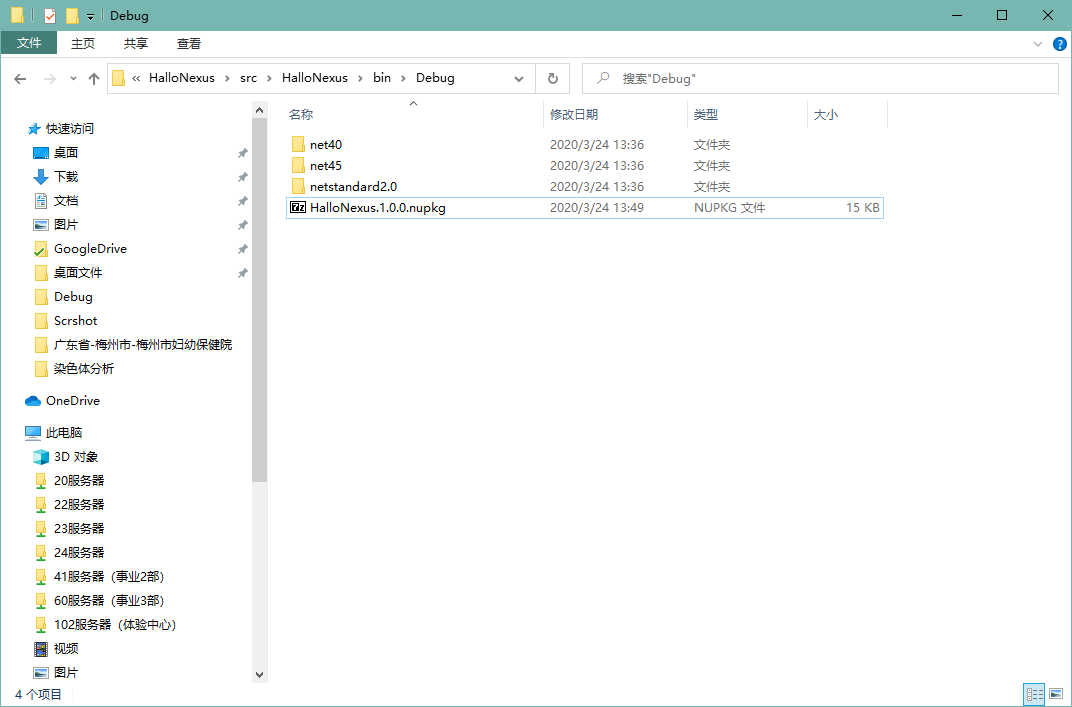
这样,我们生成项目的时候,将会自动进行打包:
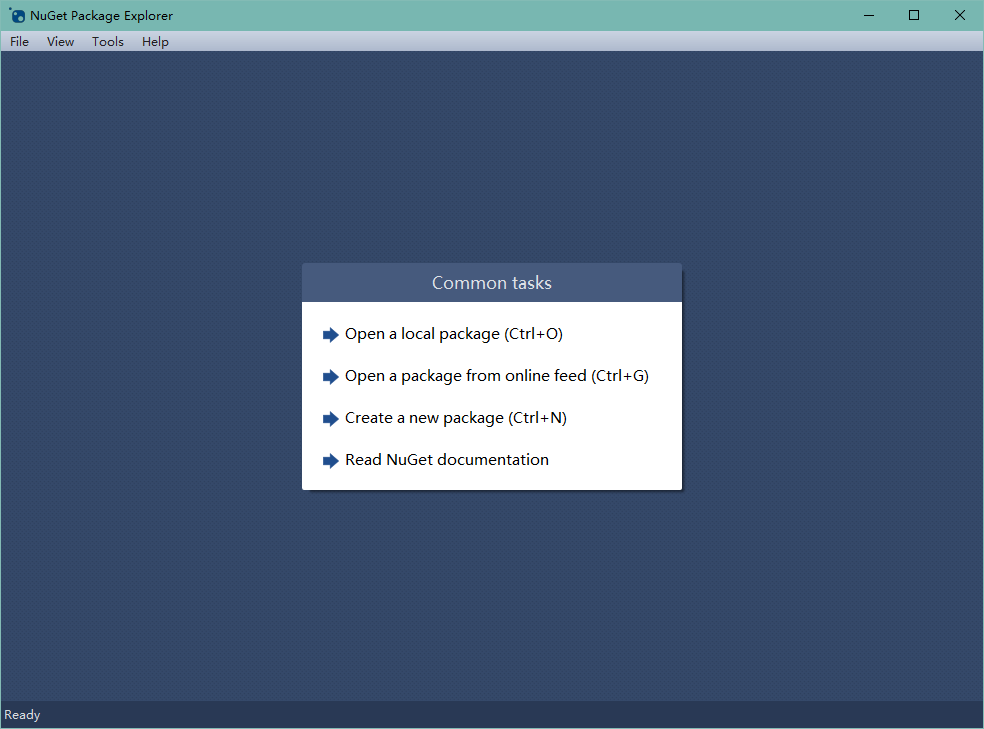
当然,也可以使用 NuGet Package Explorer 工具自行打包:
上传 NuGet 包
我们需要登录 Nexus,进入后台管理与设置界面。
Repositories
如下图,进入后台的 Repositories,我们可以看到默认已经配置了 maven 与 nuget:
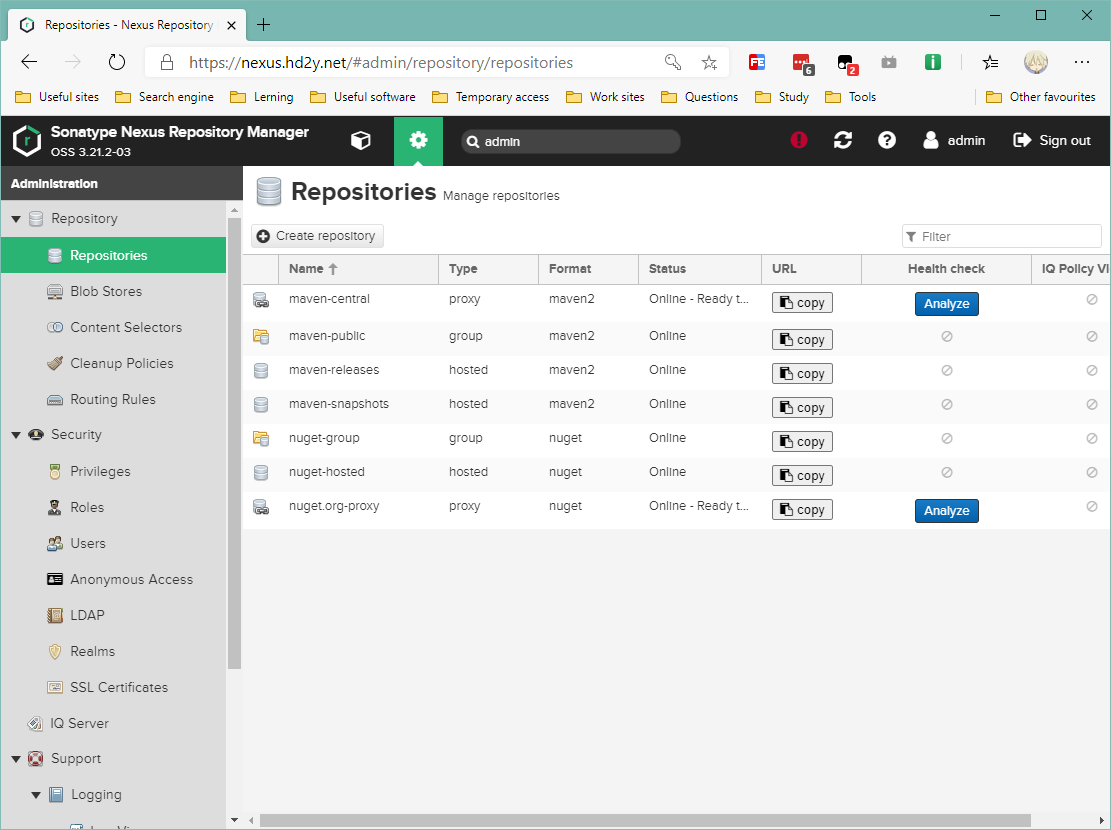
而且点击创建仓库,还有很多类型的仓库供我们选择,主流的仓库类型都可以在列表内找到:
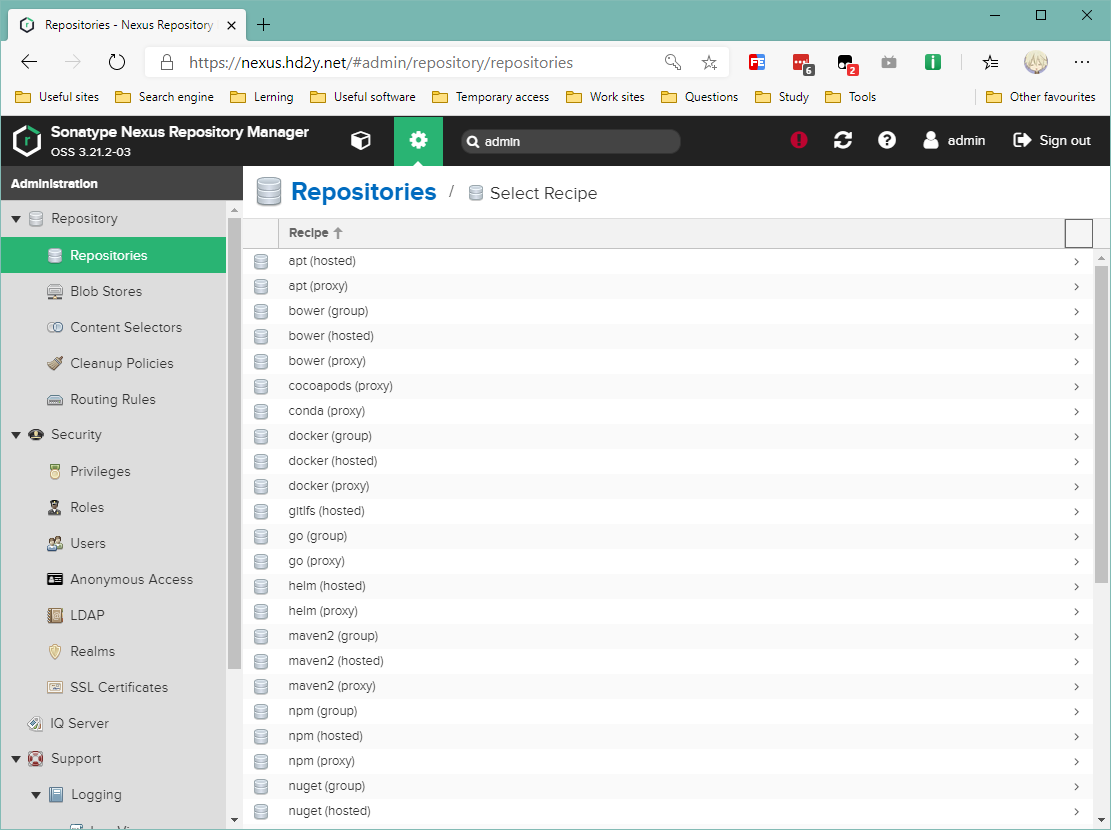
当然这里我们主要还是介绍 NuGet,但是其中的仓库类型,我们还是需要了解一下。
nuget.org-proxy:类型是proxy,表示代理仓库。我们向它请求包(package)的时候,如果本地有,它就从本地提供,如果本地没有,它会从nuget.org下载到本地,然后给我提供这个包。nuget-hosted:类型是hosted,表示托管仓库。我们一般把自己开发的包上传到该仓库中。nuget-group:类型是group,表示仓库组,它结合了nuget.org-proxy和nuget-hosted,能对外提供上述两者中的包。
nuget-hosted负责包上传,nuget.org-proxy负责代理从nuget.org下载包到 Nexus 缓存中,nuget-group负责提供包。一般使用nuget-group提供的 URL 就可以了,它可以把私服和公共库进行合并。
上传 Package
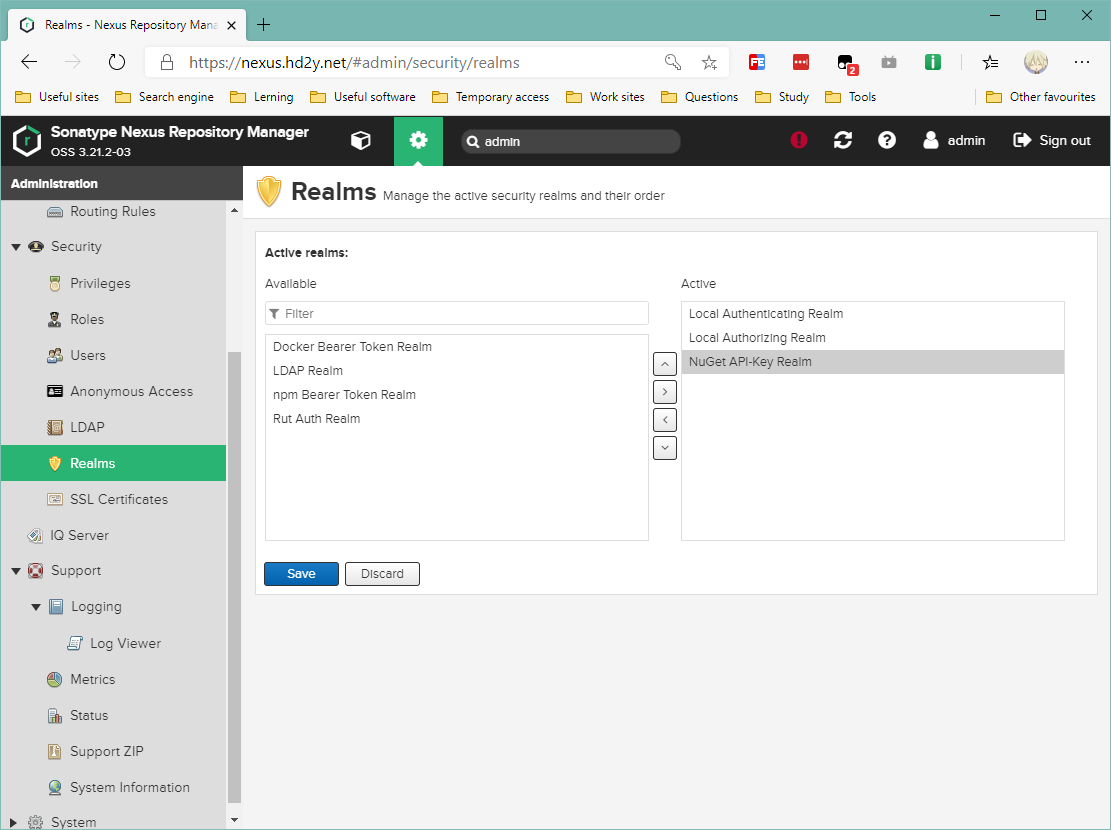
(一)添加 Nuget Realms
因为 Nexus 认证 Nuget 是通过 Realms 来认证,因此要添加 Nuget Realms。
(二)上传 NuGet 包
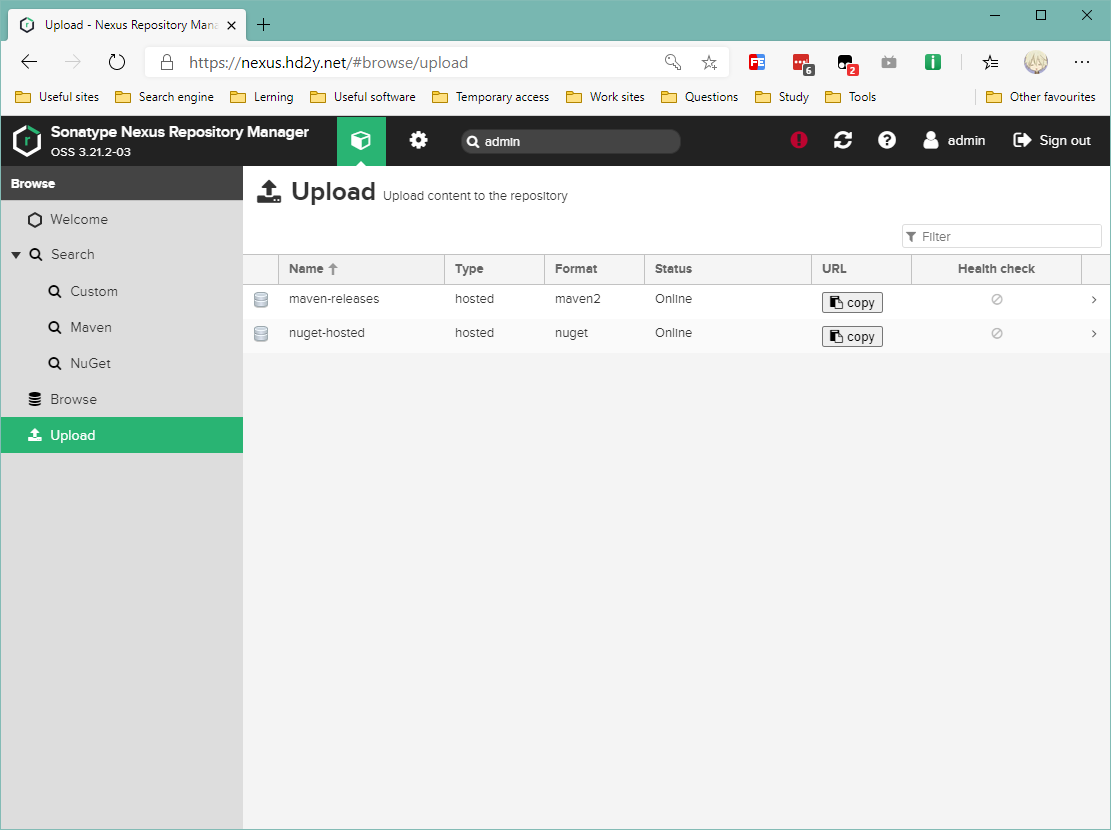
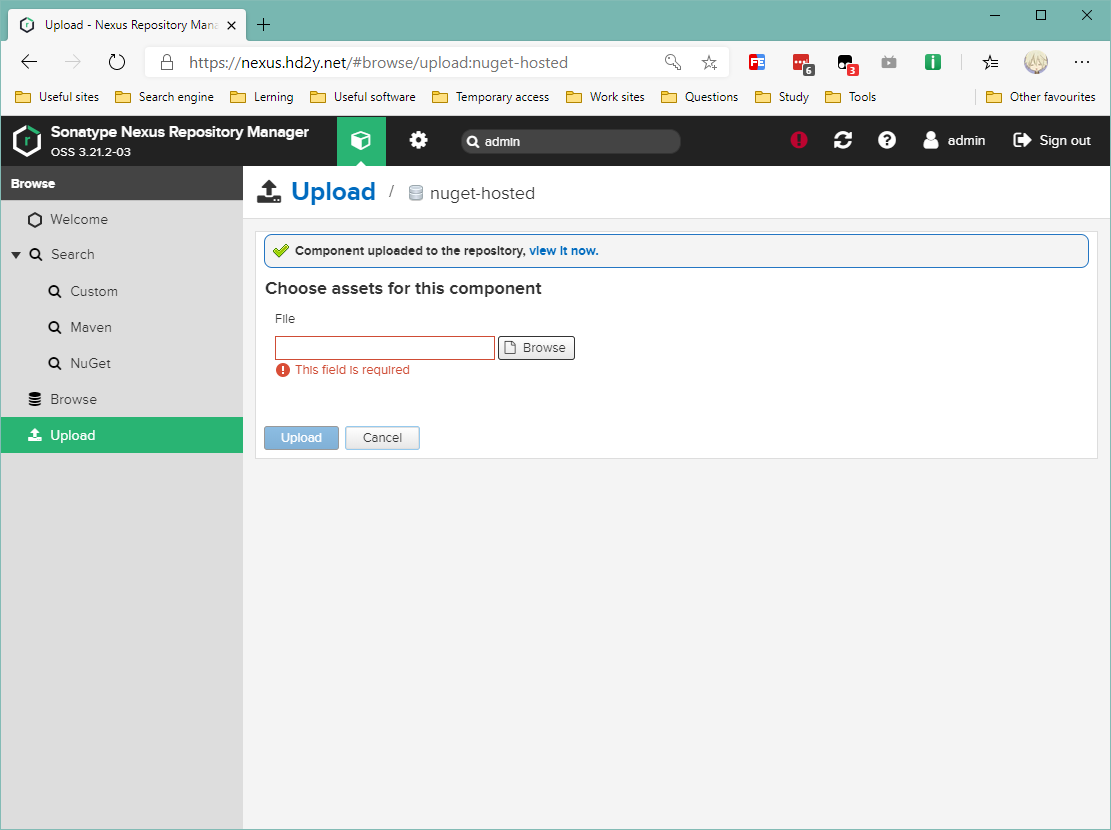
回到网站内容浏览的主视图,在 Upload 选中 nuget-hosted 点击进入,为什么要选中 nuget-hosted 上面已经说明。
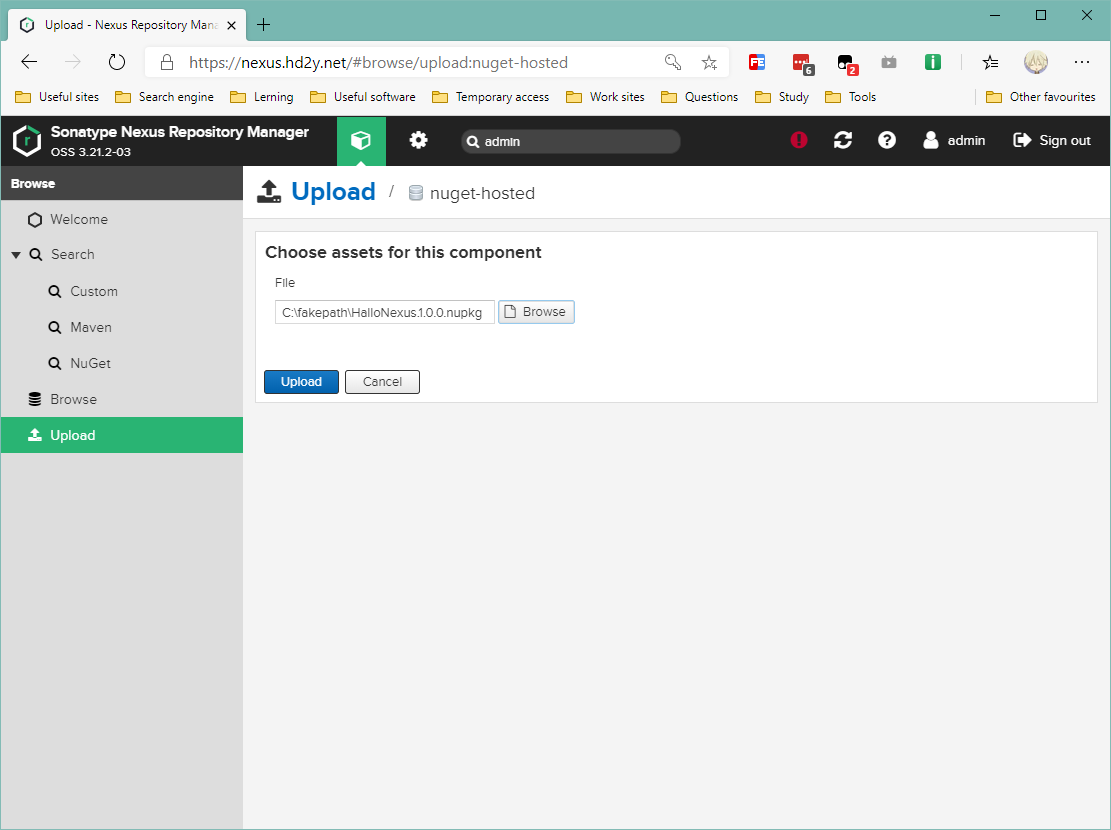
选择我们前文打包的 HelloNexus.1.0.0.nupkg 文件,并点击上传。
上传成功后,会出现如下图提示:
(三)检查 NuGet 包
在 Browse 选中 nuget-hosted 点击进入。我们可以查看所有托管的包,可以查看到 HelloNexus.1.0.0.nupkg 已经上传成功。

使用 NuGet 包
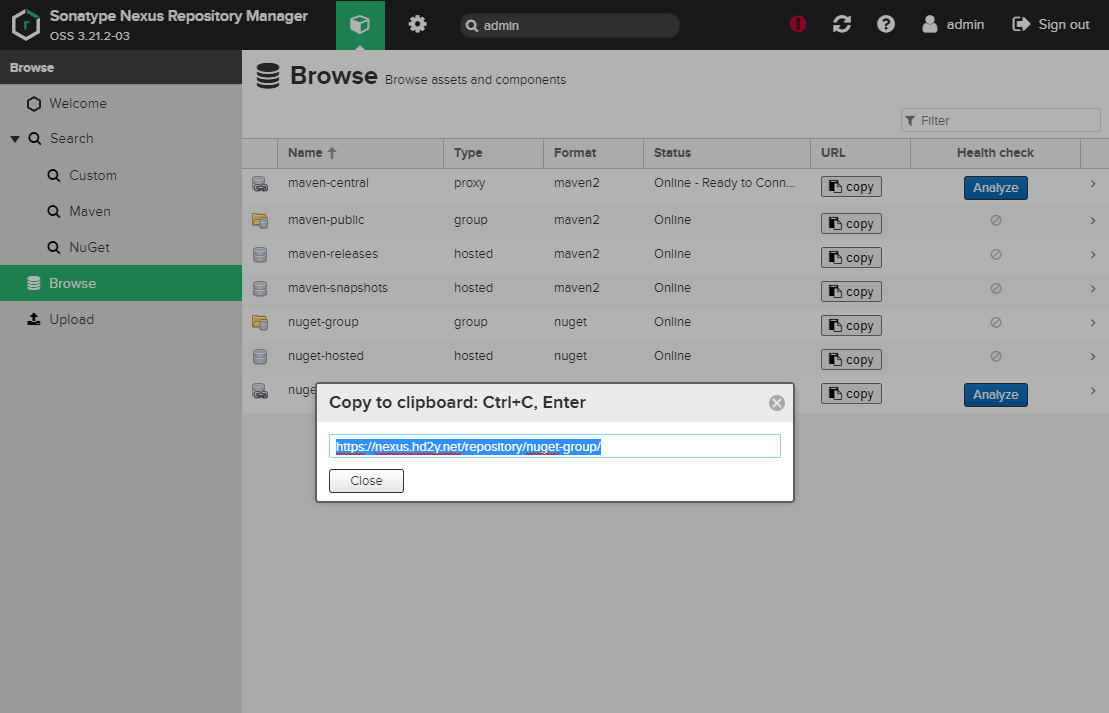
获取程序包源地址
在 Nexus 的 Browse 找到 nuget-group 获取到地址。
配置 NuGet 程序包源
打开 NuGet 包管理器,点击程序包源旁的设置按钮,会弹出如下界面:
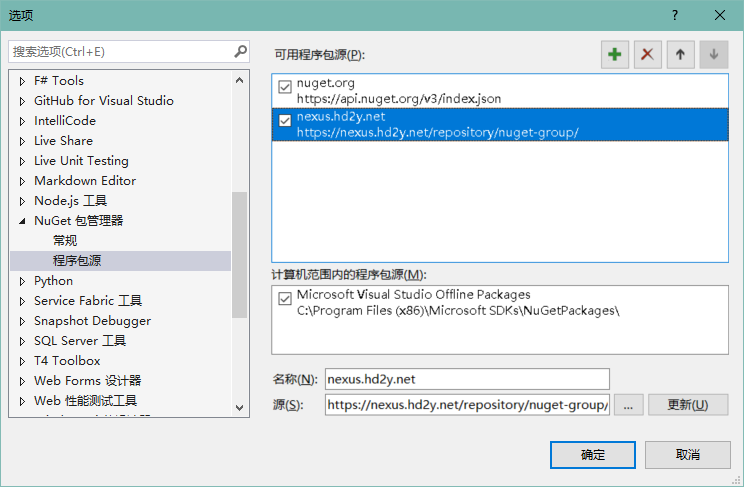
注意:需要先点击添加,然后选中新增的源进行修改,修改后点击“更新”按钮,不要修改了原来的
nuget.org源。
查找与安装
选择程序包源为我们新添加的源,然后查找我们上传的程序包 HelloNexus:

选中后,为我们需要的项目勾选安装即可。
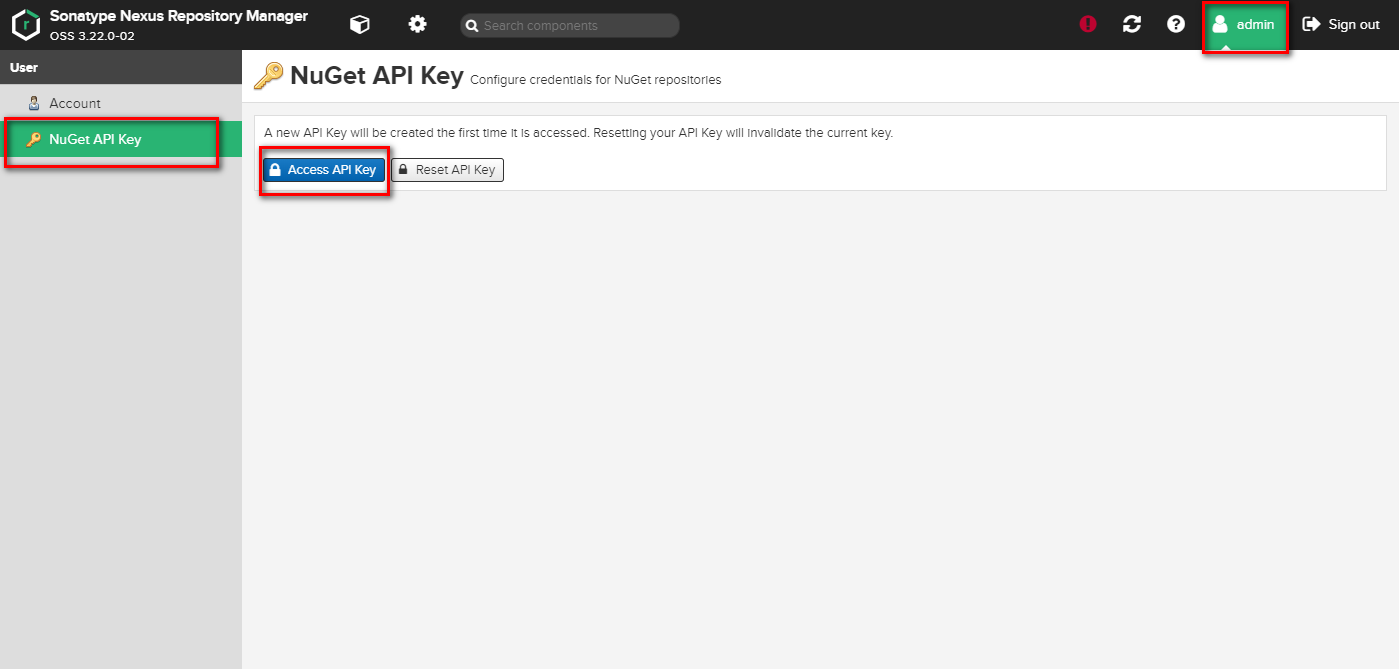
批量上传
首先,需要查看 NuGet API Key:
下载 nuget.exe,放在 *.nupkg 所在目录下,并添加一个批处理文件 nuget.bat:
1 | @echo off |
然后直接运行批处理文件,等待上传。
查虫:文章截图中有
Hallo这个单词出没,是因为前期不小心输入错了,后期发现已经改正,截图就偷懒不再改了。
参考: